CZ

Montage steps

The assembly instructions for a staircase may vary depending on its type and shape.
Installation Manual

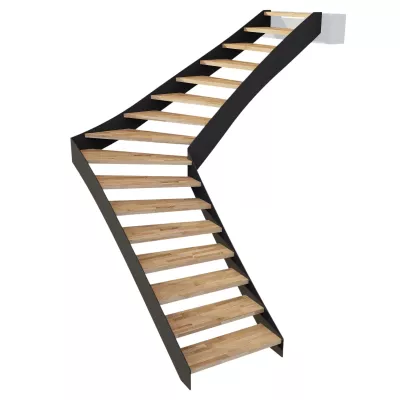
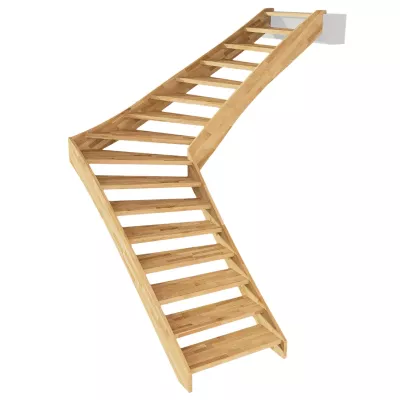
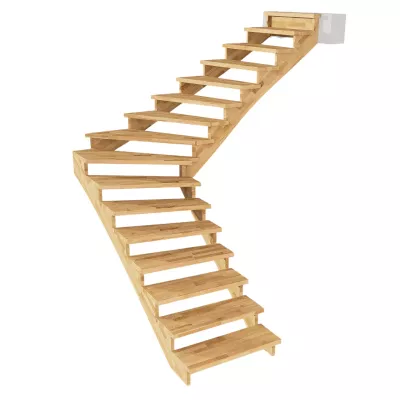
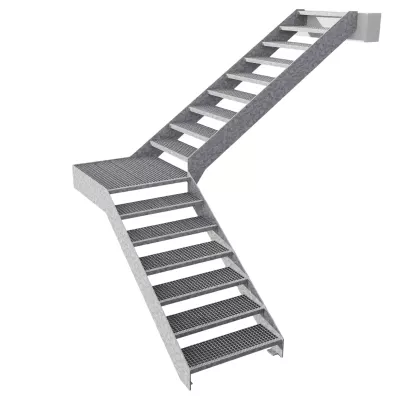
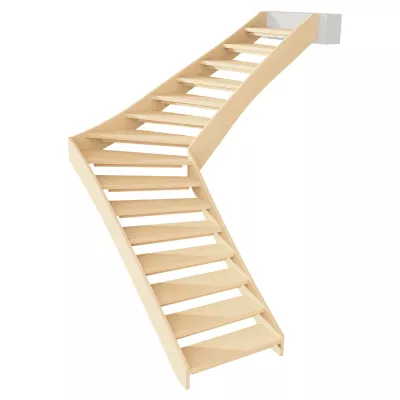
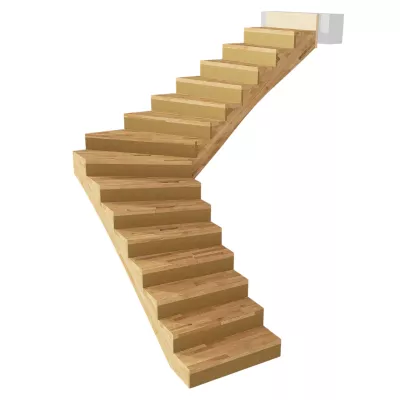
Housed Staircase

2x1/4, 1x1/2 and with landing


To make installing your staircase even easier and safer, we’ve prepared a clear step-by-step video alongside the detailed installation manual. It will guide you through the entire process and provide practical tips to ensure a smooth and hassle-free installation. Watch the video and assemble your staircase professionally, quickly, and with confidence.

We wish you a successful installation!


Download Installation Manual

1. Preparation for Installation

Before commencing assembly, thoroughly study the floor plan of the staircase and verify the ceiling opening as well as the dimensions against the plan. Pay close attention to the wall structure, the ceiling structure, and the space available at the stair exit.

Check the completeness of all staircase components, unpack them, inspect them, and familiarize yourself with their layout and position within the stairwell. Follow the same process for all fittings and auxiliary installation accessories. Prepare all necessary assembly tools and aids carefully.

Read through the entire instruction text thoroughly beforehand to establish a solid theoretical understanding of the complete workflow.

Pre-Assembly Practice Tip: It is highly recommended to perform a trial run outside of the ceiling opening using any single step. Practice inserting it into the string housing, screwing in the threaded rod, and tightening the collar nut to familiarize yourself with the process described from step 5 onwards.

Personnel and Time-Critical Requirements

  • Personnel: It is recommended to carry out the installation with at least two people, ideally three or four.
  • Time-Critical constraints (Riser Models): Speed of assembly is critical for variations featuring risers. No more than 45 minutes must elapse between applying the adhesive into the tread grooves (Step 3 or Step 6) and seating the inner string onto the final step (Step 9). It is highly advisable to divide the labor: while one or two installers secure the steps to the wall-side string (Step 6), another person should simultaneously prepare the inner string elements (Step 8).
  • Screwing Recommendation: Before driving any Spax screw into a pre-drilled hole, always apply a small amount of silicone (approx. two pea-sized drops) into the hole. This lubricates the screw for easier insertion and reduces the risk of it snapping if over-tightened.

2. Planning and Drilling Wall Anchor Points

Installation begins by securely anchoring the outer strings to the wall. Since the anchoring holes are not pre-drilled, they must be planned and drilled manually to ensure they do not conflict with electrical installations, niches, or existing wall openings.

  • First Anchor Point: Position it as close as possible to the stair ascent — ideally approx. 4 cm below the centre of the housing for the first step.
  • Exit Anchor Point: Position it as close as possible to the exit — typically below the front edge of the exit step and at a height that avoids touching the insulation layer of the ceiling.
  • Corner Anchors: Additionally, place anchor points at every corner of the string.
  • Intermediate Anchors: Place the following anchor points at intervals of approx. every two rises between the established points, ideally centered roughly 4 cm below the step housings.
  • Landing Anchors: If the staircase features a landing, place two anchor points beneath the landing platform on each leg/section.

If mounting against framed walls featuring reinforcements or studs behind plasterboard or OSB panels, adjust the anchor locations to align exactly with the centres of these structural reinforcements; do not skimp on the number of fasteners, and if necessary, place two anchors vertically one above the other.

Crucial Structural Note: Despite these precautions, it is highly recommended to always support the strings in the outer corners using permanent structural supports from the Ehop product range to ensure the staircase does not settle or sink over time.

3. Pre-assembling the Exit Section

Before mounting the third outer string (exit string) to the wall, the exit elements must be pre-assembled into it:

Standard Configuration (Without Risers)

Apply neutral silicone to the sides and the bottom of the narrow exit step housing in the 3rd outer string. Secure the exit step by driving Spax screws directly through the outer string.

Configuration with Risers

If the staircase features risers, you must pre-assemble the exit step, the final riser, and the second-to-last step into the string prior to wall mounting:

  1. Apply neutral silicone into the housings for both steps and the riser within the string.
  2. Apply silicone onto the rear edge of the second-to-last step to properly fit the riser.
  3. Note: Do not use silicone in the riser groove of the final exit step; use construction adhesive instead.
  4. To secure the second-to-last step, screw the threaded rod into the drive-in nut located in the center of the housing. Slide the step onto the threaded rod into the housing, tap it tight with a rubber mallet, and install and tighten the collar nut from the underside of the step.
  5. Fit the final riser into place and secure it by driving Spax screws through the rear into the second-to-last step.

4. Aligning and Mounting the Outer Strings

  1. Position the first (ascent) outer string against the wall, guide it to the first corner, support it, and align it.
  2. Insert the second (middle) outer string extending from the first corner to the second corner, support it, and align it.
  3. Insert the third (exit) outer string extending from the second corner, letting the top beak lock onto the floor at the exit.

If the final floor heights have not yet been established, use suitable shimming plates to ensure the stair strings sit at the precise height of the future finished floor. Typically, the corner connection of the strings is executed as an offset (lap joint), where the lower string supports the upper string and fixes its height. Verify the height of the tread housings on the strings and adjust if necessary.

Attention: Unevenness in the floor beneath the ascent or at the exit is a frequent issue, even with screed floors. Anchor all outer strings at all planned points and tighten them firmly. The strings must not warp or take on a wavy shape by mimicking wall defects; use suitable shims/backing blocks behind the string to maintain a perfectly straight line.

Important Geometric Note: The staircase is manufactured to be exactly rectangular in its floor plan. If there is any deviation from a right angle at the corners, the strings must be shimmed accordingly. This ensures they stand exactly perpendicular to each other after anchoring, preventing serious issues during the subsequent installation of the corner steps, landing, or inner strings.

5. Step Installation (Standard Configuration without Risers)

  1. Working on the fixed wall strings, apply neutral silicone to the sides and the bottom of each tread housing.
    • Application Tip: Apply a simple, thin line of silicone on the sides of the housing as close to the top edge as possible. When the tread is pushed in, it will automatically distribute the silicone across the entire depth of the housing. Then, apply a wavy line of silicone across the bottom of the housing.
    • Alternative Tip: Silicone can be applied while the strings are resting on assembly trestles before wall mounting, but beware that unexpected anchoring delays could cause the silicone to skin over prematurely.
  2. Screw the threaded rod into the drive-in nut located in the hole at the center of the housing.
  3. Slide the corresponding step into the housing and onto the threaded rod. Tap it firmly with a rubber mallet, then thread the collar nut into the pocket on the underside of the step and tighten it. Ensure the step is always pushed fully toward its front edge within the housing.
  4. Repeat this sequence progressively from the first step up to the exit.

Recommendation: It is highly advisable to horizontally support the loose, cantilevered ends of the anchored steps, especially those fitted with threaded rods for the future inner string connection.

5.1 Critical Instructions for Corner Steps and Corner Landings

When installing a corner step (or landing) that anchors into both strings meeting in a corner, note the following:

  • The corner step cannot be mounted simultaneously onto two perpendicular threaded rods protruding from the adjacent strings. Therefore, at least one threaded rod must be screwed into the step beforehand.
  • After inserting the step into the string, use your fingers to pull this threaded rod through the hole under the step and turn it by at least 4 full revolutions into the drive-in nut of the string.
  • This requires feel, practice, and precise positioning of the parts. It is highly recommended to dry-run this process by threading the rod into the drive-in nut without the step in place to verify and correct its vertical alignment and ease of thread engagement.

6. Step Installation (Configuration with Risers)

If the staircase includes risers, modify the step-by-step sequence from the bottom up as follows:

  1. Slide riser No. 1 from below into the groove of tread No. 1, ensuring you apply construction adhesive into the tread groove beforehand. Install this combined assembly together into the string housing.
  2. Prior to installing tread No. 2, apply construction adhesive into the bottom of its riser groove. Spread the adhesive slightly so the bead does not fall out during handling. Slide tread No. 2 into its string housing.
  3. Install riser No. 2 into the housing and into the groove beneath tread No. 2. Before fully inserting it, apply a bead of silicone onto the face of the riser, roughly 2 cm parallel to its bottom edge. As you push it into place, this silicone bead will spread over the rear edge of the preceding tread No. 1.
  4. Glue, adjust, and drive screws through the back of the riser into the rear of tread No. 1. Wipe away any extruded adhesive/silicone.
  5. Move on to tread No. 3, followed by riser No. 3, linking it to tread No. 2 in the same manner. Repeat this sequence sequentially up to the exit section.


7. Landing Installation

The landing is handled structurally in the same manner as a standard tread, but due to its increased width, it is typically secured with a higher number of threaded rods. For landings situated in a corner, follow the exact same procedure outlined for corner steps in Section 5.1.

If the landing is located directly at the stair exit, the pre-assembly process described in Step 3 is not required; there is sufficient space beneath an exit landing to comfortably screw the final riser to the second-to-last step from below.

8. Preparing the Inner Strings and Posts

Prepare the inner stair strings and the balustrade posts (if included):

  1. Insert the alignment dowels into the third inner (exit) string for the connection to the exit post. Apply silicone to the contact interface of the string, slide the exit post onto the dowels, adjust it, and secure it to the string using two screws.
  2. Repeat this exact process to secure the start/ascent post to the first inner string.
  3. Inspect the configuration around the corner posts. Depending on how the posts interface with the step housings, it may be necessary to slide the post onto the tread first, or it may be advisable to connect it to the string beforehand. If a post must temporarily stand alone on the tread housings, secure it firmly against slipping and support it at the correct height.
  4. Similar to the outer strings, apply neutral silicone to the sides and bottom of every step housing along the inner strings and columns.
  5. Screw the threaded rods into the screw-in nuts located in the center of the designated step housings.

9. Mounting the Inner String Assemblies

Mount the pre-assembled inner string structure onto the free, supported ends of the steps by threading the rod segments into the step holes. Progressively spread or slide the string onto the steps, working from the first step gradually toward the corner (or vice versa).

  1. Use a rubber mallet to tap the string down uniformly.
  2. Simultaneously thread the collar nuts onto the threaded rods from beneath the steps, tightening them incrementally as the string seats further.
  3. Once all steps are completely seated, thoroughly tap the entire length of the staircase to ensure a tight fit, and complete the final tightening of all collar nuts. Verify the vertical alignment of the posts from the side and correct if necessary.
  4. Follow the exact same procedure to install the inner exit string, ensuring its top beak is firmly wedged against the upper floor level. Use suitable shimming plates if floor heights are not finalized.

Critical Note for Narrow Ceiling Openings

If the stair exit is confined within a ceiling opening with a lateral clearance of 8 cm or less, you cannot pre-install the threaded rods into the inner string. Instead, the threaded rods must be inserted into the steps beforehand. Once the inner string is pushed into place, use your fingers to slide the threaded rod out from the pocket under the step and thread it manually into the screw-in nut of the string by at least 4 full thread turns. In exceptionally tight openings, it may even be necessary to pre-thread the rod into the second-to-last step during the pre-assembly stage in Step 3.


9.1 Securing Corner Posts

Attach the corner posts to the inner strings by aligning them securely in their final position and fixing them permanently with screws.

10. Balustrade and Handrail Assembly

  1. Seal all baluster holes located within the strings and the handrails with silicone.
  2. Insert the balusters into their designated holes in the stair strings according to the plan layout.
  3. Fit the handrails over the top of the balusters, apply glue to the joints, and secure them structurally by driving screws through the posts.

11. Cleaning and Finishing Work

Once installation is complete, clean the entire staircase thoroughly and patch/finish any assembly surfaces.

Cover all installation openings and pockets with the custom-sized cover caps. Position the caps over the holes and press them firmly by hand to guarantee a secure, flush fit.

12. Curing Time

All glued joints and silicone-sealed connections require approximately 24 hours at normal room temperature to cure completely. Do not subject the staircase to heavy usage or loads during this curing window.