
The assembly instructions for a staircase may vary depending on its type and shape.
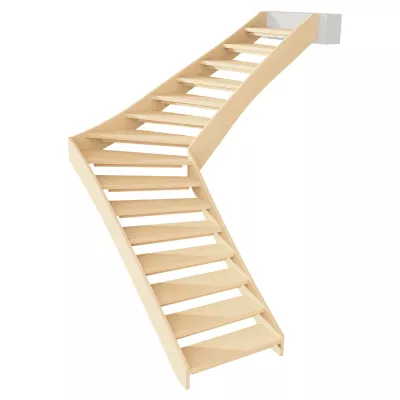
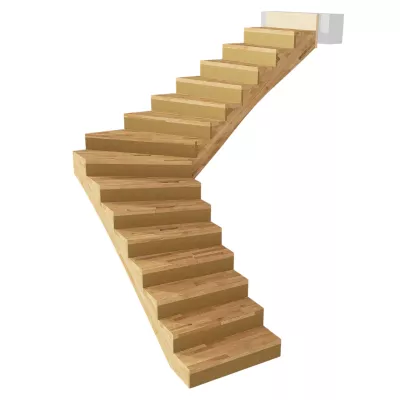
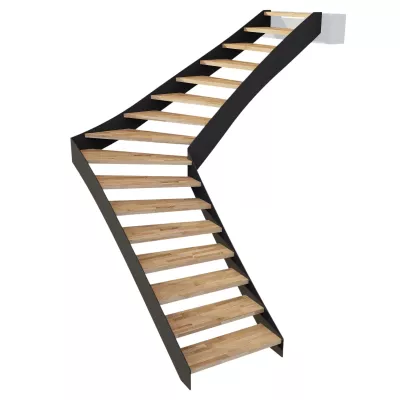
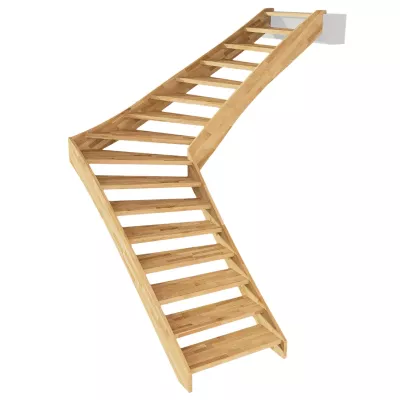
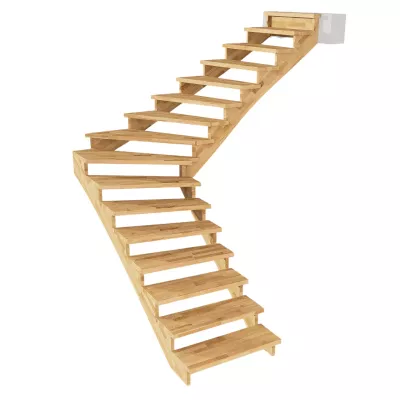
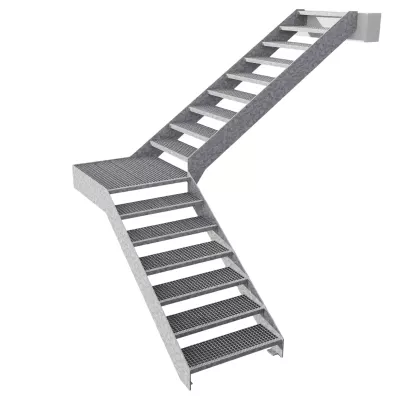
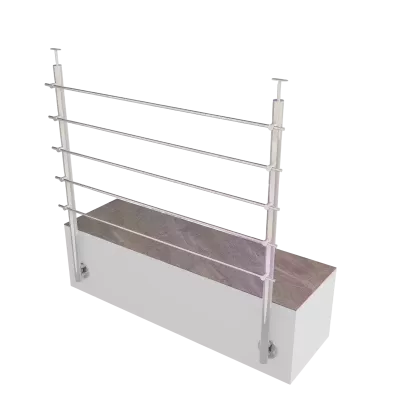
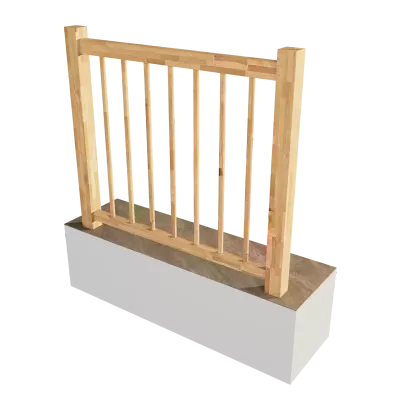
To make installing your staircase even easier and safer, we’ve prepared a clear step-by-step video alongside the detailed installation manual. It will guide you through the entire process and provide practical tips to ensure a smooth and hassle-free installation. Watch the video and assemble your staircase professionally, quickly, and with confidence.
We wish you a successful installation!
1. Preparation for Installation
Before starting the installation, study the floor plan of the stairs carefully. Check the ceiling opening and all specified dimensions against the plan. Pay particular attention to the wall and ceiling structure and whether there is sufficient space at the stair exit. Subsequently, check the completeness of all stair parts. Unpack them, check them for damage, and get an overview of their arrangement in the stairwell. The same applies to all fittings and installation materials. Now prepare the required assembly tools and all necessary aids. Read through the entire assembly instructions carefully so that the sequence is completely clear before starting.
Recommendation
The installation should be carried out by at least three people, preferably four. The metal parts are large and heavy. Otherwise, handling them carries a risk of injury or damage to the paint surface.
Connection of the Steps
The connection of the steps to the stair strings is done via screws through the support plates under the steps. To prevent later squeaking, a thin, transparent plastic underlay must be inserted at each screw point between the step and the plate. These underlays are self-adhesive and are glued onto the plates under the steps during installation preparation. Protruding parts, frequently at the corners, are cut off cleanly.
2. Fastening the Outer Stair Strings
The installation begins with fastening the outer stair strings to the wall. The fastening holes are already prefabricated. However, before installation, check whether these holes collide with installations, niches, or wall openings. If a collision occurs, drill a replacement hole. This should be as close as possible to the original drill hole. If the walls in the area of the stairs are built using a grid construction method (e.g., with reinforcements or studs behind plasterboard or OSB panels), the fastening points must be adjusted accordingly. Set the screws exactly into the centres of the reinforcements. Do not skimp on fastening points — two screws one above the other are also permissible. It is recommended to apply a rubber band between the plasterboard wall and the steel stair string. This reduces vibrations and protects the surface. Despite these measures, we strongly recommend additionally supporting the stair strings at the outer corners with permanent supports from the shop range. This prevents the staircase from sinking over time. The sequence of installing the stair strings results from the mutual positioning of the connection plates.
3. Aligning and Connecting the Outer Stair Strings
Place the first outer stair string against the wall, press it into the corner or towards the stair exit, support it, and align it. Subsequently, attach the second adjacent outer stair string from the corner and connect the two strings with screws. Repeat this process with the third outer stair string. Align the stair strings at the stair ascent and at the stair exit to floor level. If the final floor height has not yet been determined, use suitable shims so that the strings already sit at the later floor height. Check the flatness of the plates under the steps on the strings and level them if necessary. A common problem is unevenness in the floor in the area of the stair ascent or exit — even with screed floors. Once all strings are correctly aligned, fasten them at all intended points and tighten the screws firmly. Attention: The stair strings must not adapt to wall unevenness or become wavy. Use suitable shims to level out unevenness. Important note: The delivered staircase is manufactured to be exactly rectangular in its floor plan. If the existing structure deviates from a right angle, the stair strings must be shimmed accordingly so that exact right angles are created after fastening. Otherwise, a correct installation of corner steps, landings, and inner stair strings is not possible. Tip: For a simple and secure joining of the corner connections, it is recommended to temporarily replace one of the short connection screws with a short piece of threaded rod. This is screwed into the blind hole of the string or the connection plate and serves as a guide pin.
4. Installation of the Exit Steps and the Inner Exit String
First, mount the narrow exit tread onto the outer exit string. Fastening is done with screws through the support plate under the step. At the same time, the step closest to the corner is mounted on both outer exit strings. Subsequently, the inner exit string is attached to these two mounted steps, screwed, and supported. Tighten the screws of the two steps firmly at the plates of the outer strings. At the plates of the inner string, the screws are only loosely screwed in, leaving a few thread pitches free. Attention: The inner exit string must not yet be fixed at the exit via the vertical fastening plate. This connection remains open for now. The existing mobility significantly facilitates the connection with the next inner string as well as the further installation of the treads.
5. Installation and Connection of the Inner Stair Strings
Align the free end of the inner stair string in the second inner corner to the correct height, stand it up, and attach the second inner stair string. Connect the two inner stair strings in the corner via the connection plates, screw them together, and tighten the screws firmly. The support or supports remain in place and must be secured against slipping. Repeat this process in the first inner corner and connect the first inner stair string (ascent string) there. Subsequently, mount the next step after the first corner. This determines the exact mutual position of the outer and inner stair strings. If the final floor height has not yet been determined, use suitable shims so that the stair strings already sit at the later floor height. Tip: Depending on the situation (dimensions, weight of the components, and number of installers), the inner stair strings can first be pre-assembled with each other outside the construction opening. This unit can then already be installed together in the previous step (point 4).
6. Installation of the Treads from the Stair Ascent
Now mount tread No. 2 at the stair ascent. First, fix the step with two screws from below onto the support plate of the outer stair string. Attention: The step is only loosely fixed to the support plate of the inner stair string. Turn the screws in by only a few thread pitches and do not tighten them yet. If this connection were tightened completely right away, it would significantly complicate the insertion and installation of the subsequent treads. Repeat this process for tread No. 3 and all further steps up to the stair exit. The intentionally left clearances facilitate installation and help to avoid paint damage to the stair strings.
6.1 Installation of the Treads for Stairs with Risers (Deviation from Point 6)
For stairs with risers, point 6 is adapted as follows: Apply neutral silicone onto the face surface of riser No. 3. The silicone bead is applied as a continuous bead approx. 2 cm away parallel to the bottom edge, roughly at the height of the pre-drilled holes. Place the riser against the rear edge of tread No. 2, align it, and fasten it with three screws (5 × 45 mm). Subsequently, wipe off excess silicone. Now mount this assembly of tread No. 2 and riser No. 3 at the stair ascent. First, fix the tread with two screws from below to the support plate of the outer stair string. Attention: The connection to the support plate of the inner stair string is only loosely fixed, leaving a few thread pitches free. Subsequently, connect tread No. 3 with riser No. 4 in the same manner. Additionally, now apply slow-curing construction adhesive into the groove for the riser at the front edge of the tread and spread it lightly. Tip: After application, the construction adhesive begins to foam slowly or increase its volume. To ensure that the adhesive does not squeeze out of the glued joint later, apply a thin bead of neutral silicone to both side surfaces of the groove. This acts as a sealing barrier. Repeat this procedure from tread No. 4 up to the stair exit. Already mounted corner treads are to be adjusted accordingly, whereby both silicone and construction adhesive must always be used. The intentionally left clearances facilitate installation and prevent paint damage to the stair strings.
7. Final Alignment of the Inner Stair Strings
After all treads (with the exception of the first tread) are mounted, now tighten the screw connections to the inner stair string. Subsequently, check the height at the stair exit, the alignment in the inner corners, as well as the entire stair construction. Make corrections if necessary.
8. Final Fastening of the Inner Exit String
Now drill the holes for fastening the inner exit string through the vertical fastening plate and subsequently screw the string tight. If a final exit riser is provided, its installation must now take place according to point 6.1.
9. Fastening of the Start
Now mount the start. To do this, first insert tread No. 1 for a trial ("dry run") and tighten all four screws on both stair strings. Subsequently, align the inner stair string exactly vertically. This alignment is important because the later start post must also stand vertically. Afterwards, mark the drill holes in the fastening plate on the floor. Demount tread No. 1 again, drill the marked holes, and subsequently screw the fastening plate firmly to the floor.
10. Final Assembly of the First Tread
Mount tread No. 1 again and tighten all screw connections firmly.
10.1 Final Assembly for Stairs with Risers (Deviation from Point 10)
For stairs with risers, point 10 is adapted as follows: Apply slow-curing construction adhesive into the groove of the riser at the front edge of tread No. 1, where tread No. 2 is already mounted. Spread the adhesive lightly. Insert riser No. 1 into the groove of tread No. 1, press it into place, and tap it in carefully if necessary. Subsequently, carefully insert this assembly into the stair construction and tighten tread No. 1 firmly. If necessary, shim the riser accordingly. Subsequently, apply neutral silicone as an approx. 2 cm wide bead parallel to the bottom edge onto the front surface of riser No. 2. Carefully insert the riser from below into the groove of tread No. 2, press it against the rear edge of tread No. 1, align it cleanly, and fasten it with three screws (5 × 45 mm). Remove excess silicone.
11. Final Inspection of the Stair Construction
Carefully check all connections and fastenings of the staircase and subsequently tighten them definitively.
12. Installation of the Balustrade Posts
The balustrade posts are numbered and are mounted in the intended order. First, guide the screw through the stair string. Subsequently, put on the stainless steel washer, with the flat side resting against the string. After that, the spacer is inserted. This rests with the straight side on the washer and with the routed side against the post. Now set the post in place, turn the screw into the thread of the post, and tighten it only lightly at first. Repeat this process at the second fastening point of the post. Mount all balustrade posts one after another in this manner, align each post exactly vertically, and subsequently tighten both screws firmly.
13. Pre-installation of the Second Upper TVH Rod
Prepare the second upper TVH rod for pre-installation. To do this, loosen the adjusting screws (Allen screws) of the corresponding TVH holders on the side close to the post. If necessary, the adjusting screws can also be removed completely. These are M5 screws, which are loosened with a 2.5 mm Allen key. Align the TVH rod correctly, insert it into the holders, and measure the final overhangs. Correct these if necessary and subsequently fix the rod with the adjusting screws. The pre-installation facilitates the later alignment of the TVH posts before mounting the handrail and at the same time creates sufficient space for using a cordless drill.
14. Installation of the Handrail
Set the handrail onto the receivers of the TVH posts. The receivers can be tilted, and the rod is height-adjustable. To do this, loosen the adjusting screw located laterally at the top (M6, 3 mm Allen key). Align the handrail correctly, insert it into the receivers, and measure the final overhangs. Correct these if necessary and subsequently screw the handrail to the receivers. Important: All screws must be pre-drilled before screwing. Recommendation: First mount all handrails provisionally to check the visual line, the heights, and the overhangs. Only after that, pre-drill and screw the handrails definitively.
15. Installation of the Remaining TVH Rods and Finishing Work
After mounting the handrails, repeat the sequence from point 13 for all remaining TVH rods. Subsequently, check the overall geometry of the balustrade and tighten all screws as well as adjusting screws firmly. Fill the hollow ends of the TVH rods with neutral silicone and insert the stainless steel caps. If necessary, the lower ends can be temporarily secured with adhesive tape until the silicone has cured.
16. Cleaning and Protecting the Staircase
Sweep the staircase thoroughly, clean all surfaces, and subsequently provide the staircase with the intended protective covers or cover caps.
17. Completion of Installation and Curing Time
This completes the installation of the staircase. All glued and silicone-sealed connections require approx. 24 hours at normal room temperature to cure completely. During this time, the staircase should not be subjected to loads.