
The assembly instructions for a staircase may vary depending on its type and shape.
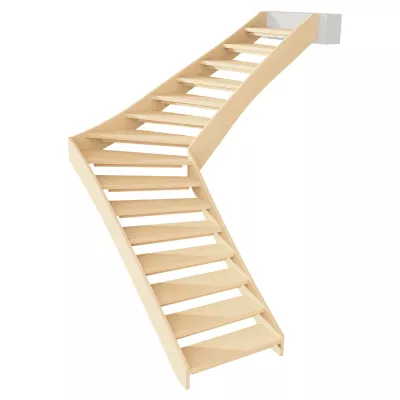
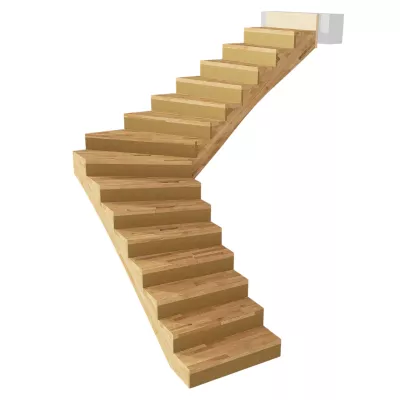
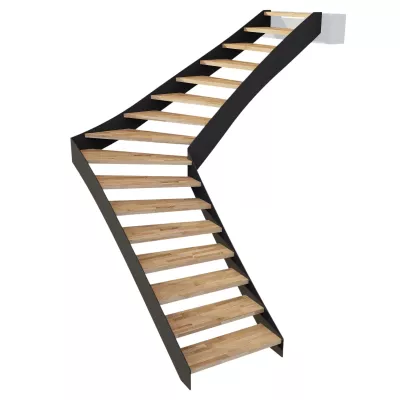
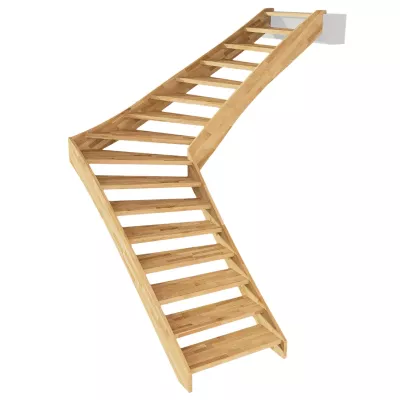
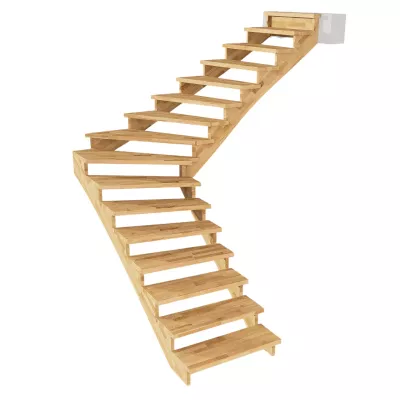
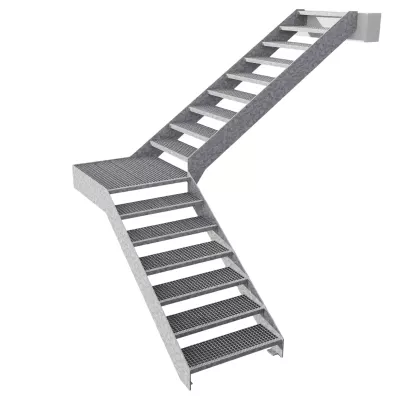
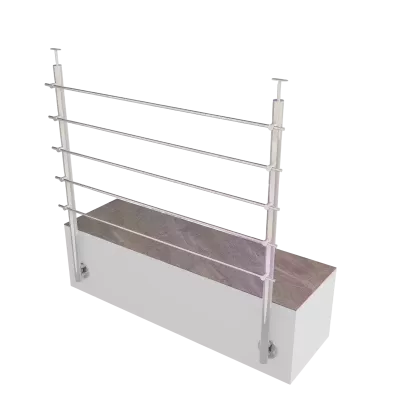
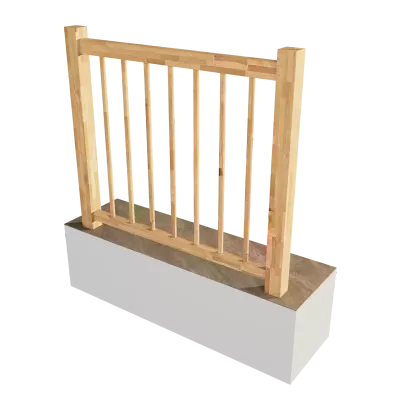
To make installing your staircase even easier and safer, we’ve prepared a clear step-by-step video alongside the detailed installation manual. It will guide you through the entire process and provide practical tips to ensure a smooth and hassle-free installation. Watch the video and assemble your staircase professionally, quickly, and with confidence.
We wish you a successful installation!
1. Preparation for Installation
Before starting the installation, study the floor plan of the staircase thoroughly and check the ceiling opening as well as the dimensions against the plan. Pay close attention to the wall structure, the ceiling structure, and the available space at the stair exit.
Check the completeness of all staircase parts, unpack them, inspect them, and familiarize yourself with their planned positions in the stairwell. Do the same for the fittings and necessary auxiliary materials.
Prepare the required assembly tools and all other aids. Read through the entire assembly sequence in the manual carefully to gain a clear understanding of the workflow.
Personnel and Screwing Recommendations
2. Planning and Drilling Anchor Points
The installation begins by anchoring the 3rd outer string (exit string) to the wall. Since the anchoring holes are not pre-drilled, they must be planned and drilled so that they do not collide with electrical installations, niches, or other cavities in the wall.
If the walls feature a reinforced grid system (such as behind plasterboard or OSB panels), align the anchor points exactly with the centres of these reinforcements. Do not reduce the number of anchor points; where necessary, two anchors can be placed one above the other to guarantee optimal stability.
3. Aligning and Connecting the Outer Strings
Press the 3rd outer string (exit string) against the wall, guide it carefully up to the exit edge, support it, and align it precisely. The upper edge (saddle) of the vertical timber beam on the string must sit lower than the final floor height of the upper floor to account for the thickness of the tread. Verify that the exit edge is perfectly level.
Attention: Uneven floors at the stair exit are a frequent problem, even with screed floors! If the final story height has not yet been reached, bring the string to the necessary height using suitable shimming plates. Now anchor the string at all designated points, but tighten the anchors only lightly at first.
Next, glue the wooden dowels into the prepared openings and screw the threaded rods into the 2nd outer string to establish a stable connection at the 2nd outer corner. Coat the joint evenly with glue — ideally the front face of the 2nd outer string. Slide the string onto the wooden dowels, push it into the corner, press it firmly against the wall, support it, and align it precisely.
Carefully pull the threaded rods previously inserted in this string out through the side opening and screw them into the screw-in nuts of the 3rd outer string (at least four full turns). This step requires sensitivity, practice, and precise alignment of the parts to one another. To check and simplify installation, it is recommended to test-screw the threaded rods into the screw-in nuts at the very beginning of the assembly.
Finally, place the collar nuts onto the ends of the threaded rods and screw them tightly inside the side openings to secure the corner connection permanently.
3.1 Assembly of the 1st Outer Corner
First, glue the wooden dowels into the 1st outer string (ascent string). Then screw the threaded rods into the 2nd outer string to ensure a stable connection at the 1st outer corner. Coat the joint surface — ideally the front face of the ascent string — evenly with glue. Slide the outer ascent string onto the threaded rods and wooden dowels, push it into the corner, press it against the wall, support it, and align it precisely. Screw the collar nuts onto the threaded rod ends in the side holes and tighten the corner connection.
If the final story height has not yet been reached, bring the string to the correct height using suitable shimming plates. Check the levelness of the saddle (the upper edge for the treads) and correct it if necessary to ensure a uniform stair rise. Afterward, fix the 1st and 2nd outer strings to the wall at all planned anchor points, but do not tighten them fully yet to allow for potential fine adjustments later.
Important Realignment Note: The string must not copy the unevenness of the wall and become wavy. Use shimming plates selectively to keep the string stable and flat.
Important Geometric Note: The delivered staircase is manufactured to be exactly rectangular in its floor plan. In case of deviations from a right angle at the exit, it is crucial to shim the strings and the anchor plate accordingly. This ensures that the exact right angle is maintained after anchoring, which is required for a precise and secure installation of the steps, landing, and inner strings.
3.2 Exit String Threaded Rods
Now screw the threaded rods into the two holes on the side of the vertical timber beam of the 3rd outer string (exit string). A drive-in nut is located at the end of each hole. Insert a wooden dowel from above into the vertical timber beam to secure the connection.
4. Pre-assembling the Stair Exit Components
The assembly of the stair exit is carried out as follows:
5. Installing the Exit Post
Prepare the exit post. Slide the housing of the post onto the exit tread and place it onto the wooden dowels located on the front face of the string. To create a secure connection, screw the post to the string using two 6x100 screws.
Attention: Before tightening these connections, apply silicone into the housing and onto the contact surface with the riser to ensure stability and a tight seal. Coat the holes for the wooden dowels with glue to fix the dowels securely. Finally, secure the exit tread additionally from the back of the post with a shorter screw to stabilize the entire assembly.
6. Mounting and Anchoring the Exit Assembly
To mount and anchor the exit, position the pre-assembled exit section against the exit edge and slide the free ends of the steps onto the wooden dowels of the outer exit string. Tap the steps firmly into place. From the side of the string, secure and screw the second-to-last step tightly to the string in the underlying hole using a 6×60 screw.
The overlap of the post on the inside must be hooked onto the exit edge of the ceiling opening. Support this section and align it. Check the levelness with a spirit level and make corrections if necessary.
Now plan and drill two anchor points for anchoring the exit. Place the anchor points along the axis of the exit column so that they pass through the riser and the column. Particular care must be taken regarding the stability and exact location of the anchor points to avoid conflicts with insulation as well as electrical, water, or heating lines.
Status Check: At this point, all three outer strings are anchored to the wall, and the last two treads are connected to the final riser. Via these steps, the third inner string (exit string) is also anchored to the post on the inside. In the second inner corner, however, this inner string is currently only supported and remains free without a fixed anchor.
7. Connecting and Aligning the Inner Strings
Glue the wooden dowels into the 1st inner string (ascent string) to connect the strings in the 1st inner corner. Apply glue to the joint, ideally onto the front face of the ascent string. After inserting the wooden dowels, slide the 2nd inner string onto the dowels and secure the connection with two 6×100 screws.
Subsequently, lift this entire structure and connect it in the 2nd inner corner to the already mounted 3rd inner string. Follow the exact same procedure as in the first inner corner: glue the wooden dowels into the second inner string and apply adhesive to the joint surface (ideally the front face of the second inner string). Then slide the component with the dowels into the openings of the third inner string and secure the connection with two 6×100 screws.
Properly support and align the entire inner string assembly. To better control the relative distance between the outer and inner strings, we recommend provisionally placing and test-mounting a tread before the corner, another directly behind the corner, and tread No. 2 onto the wooden dowels. Verify the levelness during this test.
Once everything is correctly aligned, firmly anchor the ascent of the inner string to the floor under the first step using the floor anchor. The holes for this anchor are located under the 1st step. Pay close attention to the potential presence of underfloor heating!
Note: The anchor shares the hole on the side of the string with the future threaded bolt for securing the 1st tread. Make sure that enough space remains for the threaded bolt!
8. Installation of Tread No. 1 (With Risers 1 and 2)
Note: If there is no finished floor underneath the staircase, support riser No. 1 with suitable shimming materials and secure it to prevent it from slipping out of the groove in the tread.
9. Step-by-Step Installation of the Remaining Treads
Mount the remaining treads progressively from the ascent upwards:
Repeat this process for all subsequent treads up to the exit.
Exception for the Pre-installed Exit: Since the second-to-last step is already mounted, you must install the tread and riser immediately preceding it separately. First, slide that riser diagonally from below into the second-to-last step. Only after it is in place should you fit the preceding tread onto its wooden dowels and fasten it.
9.1 Landing Installation
The landing is treated similarly to the treads during assembly, but due to its larger width, it must be secured with screws at multiple locations to ensure stability.
10. Tightening and Structural Finalization
After successfully mounting the landing and all treads, completely tighten all anchor points in the strings. This is a crucial step to ensure that the entire staircase is stable and secure.
11. Installation of the Balustrade Posts
Now install the balustrade posts:
12. Installation of the Bottom Rails
First, place the bottom rail onto the axis of the posts and ensure it is aligned at the prescribed height. Once the bottom rail is correctly positioned, screw it firmly at both ends through the posts. Use screws driven from the posts into the bottom rail to ensure a stable and secure connection.
13. Assembly of the Balusters and Handrails
Apply silicone evenly and generously into all holes for the balustrade balusters, both in the bottom rails and in the handrails, to ensure a firm connection and prevent the entry of moisture.
Subsequently, insert the balustrade balusters into the pre-drilled holes in the bottom rail according to the plan. Once all balusters are correctly positioned, place the handrails on top of the balusters and screw them tight through the posts using the designated screws.
14. Cleaning and Finishing Work
After assembly is complete, clean the staircase carefully to ensure no residues of silicone, glue, or other materials remain on the surfaces. Then cover all openings and holes with the matching cover caps. Place the caps onto the respective holes with the rubber band side first and press them firmly by hand until they sit flush with the surface.
15. Curing Time
All glued and silicone-sealed connections require approximately 24 hours at normal room temperature to cure completely. Do not subject the staircase to any loads during this period.